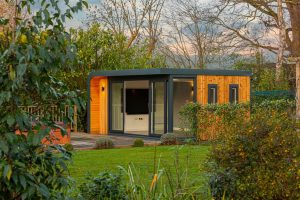
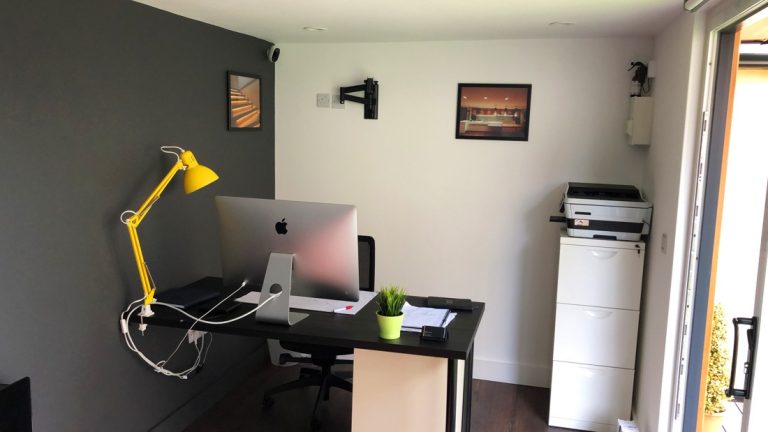
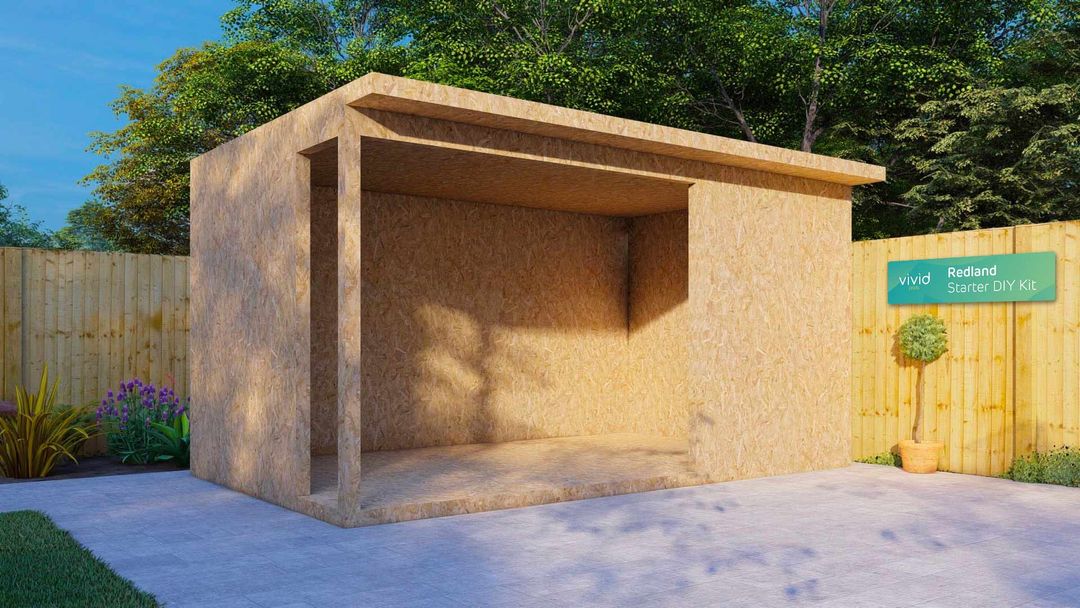
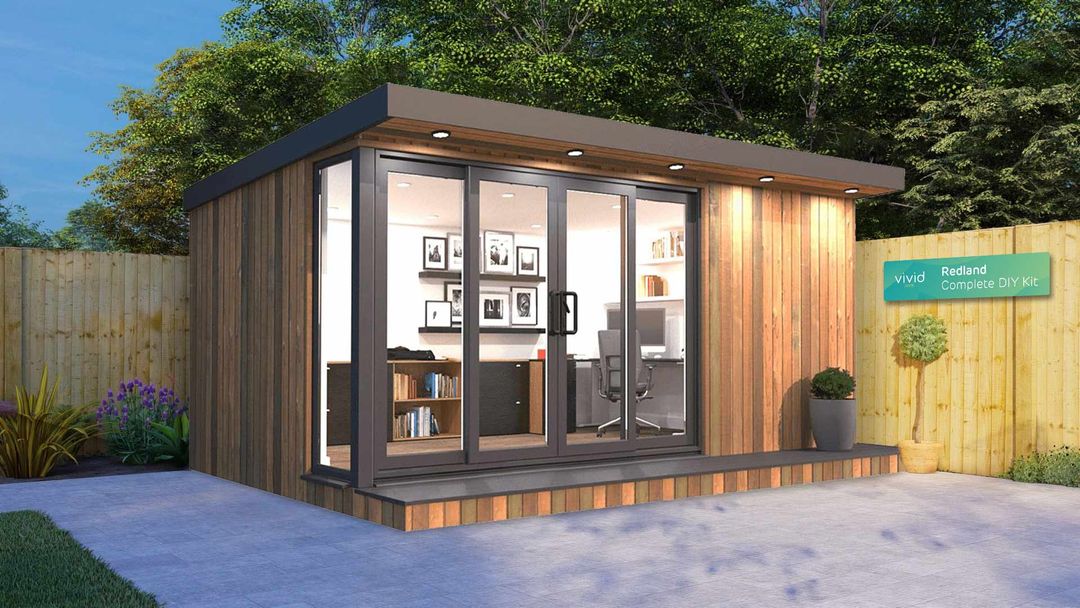
If you’ve made the exciting decision to create a bespoke Studio in your garden, you have taken the first step toward transforming your outdoor space into something wonderful! Whether you’re adapting your home to include the perfect home office or adding some spectacular living space, a cost-effective way to achieve this is by investing in one of our DIY Garden Room Kits – the perfect option for tradespeople or experienced DIYers.
At Vivid Pods, we pride ourselves in creating the perfect Studio for your needs and to suit your budget. With numerous options for customisation, we can adapt our Studios to make perfect home offices, gyms, chill-out zones, music or gaming rooms.
Our DIY kits have the additional benefit of being the budget-friendly option, so you can enhance your outdoor space for much less!
In this article we explore everything you need for a Garden Room project from Vivid Pods.
Tools & Equipment needed:
- A Vivid Pods DIY Kit
- Technical drawings
- Hop ups, step ladders and access tower
- PPE
- Eye protection
- Work gloves
- Ear defenders or earplugs
- Steel toe cap safety boots
- Circular saw
- Hand saw
- Drill and impact driver with drill bits (including Countersink, HEX and POZI)
- Spirit level (6ft)
- Staple gun
- Hammer
- Rubber mallet
- Utility knife
- Brad nail gun
Planning Permission
With any structural project, it’s essential to be sure of any permission needed (such as Planning Permission) or risk your Studio being taken down. You can check out our guide to preparing for a Garden Room which includes advice on whether your project requires planning permission. There are also potential covenants against building in certain areas which it’s essential to investigate before making a financial commitment to a project. Your local planning office can be a valuable source of specific advice for your area.
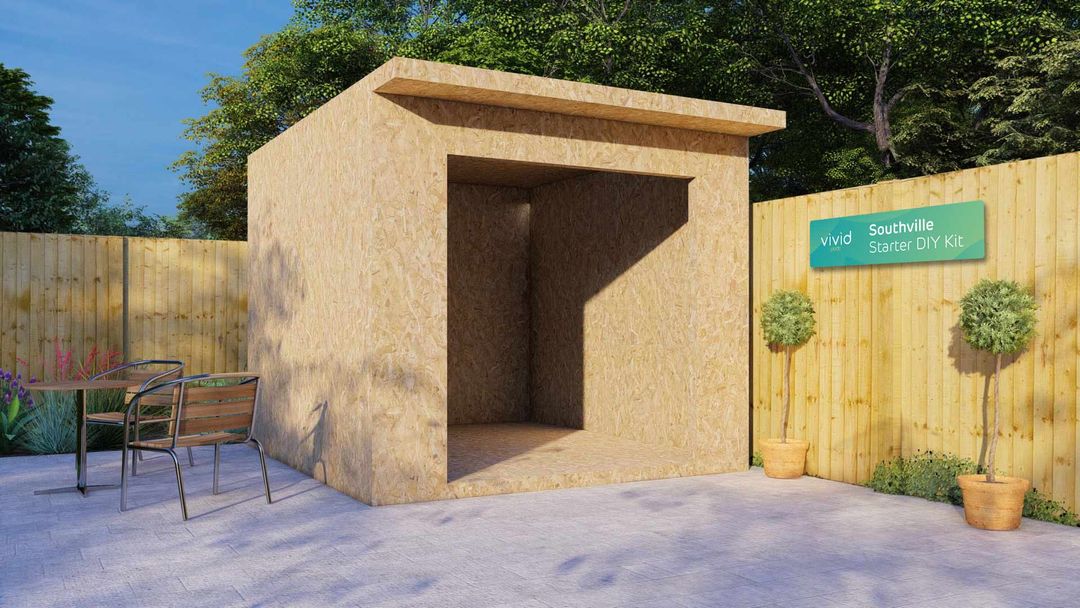
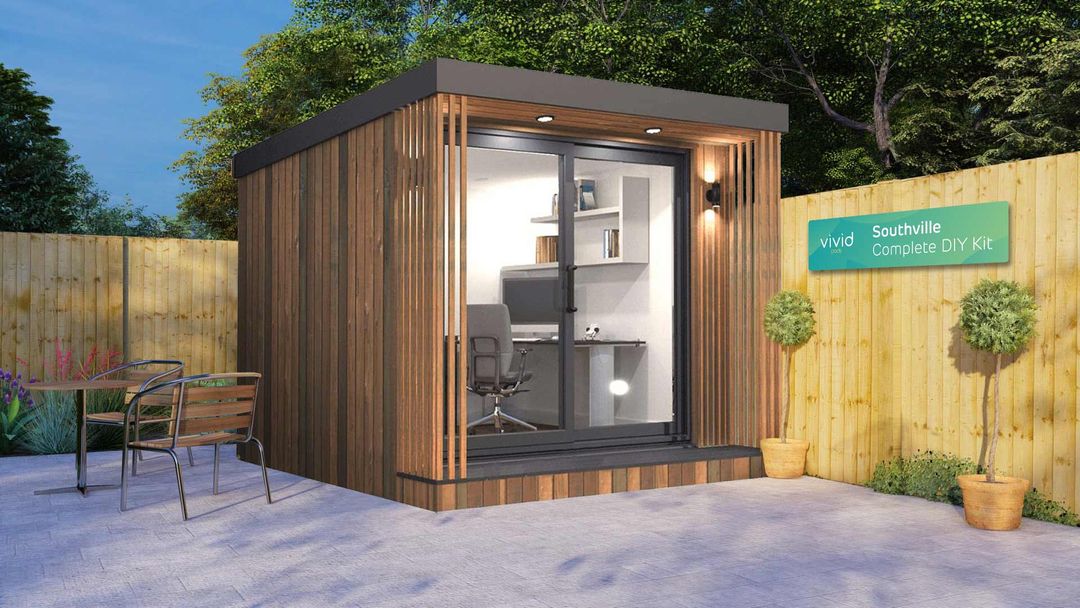
Planning the Site
With a piece of paper and a tape measure, you can start to plan the location of your DIY Garden Room.
Consider:
- How level is the ground? Do you have a sufficiently flat area or will you need to consider a support frame or groundwork?
- Are there any obstacles? This can be above or below ground including underground pipework, electrical wiring or trees.
- Where is the entrance? Decide which direction the front of the Garden Room will be. The rising and setting sun can affect how you can use the room. Working at home with the sun in your eyes each day will not make the room comfortable to use.
- How will you maintain the Studio? Ensure that a minimum distance of 50cm is left for neighbouring boundaries for construction and maintenance.
- How will you access the Studio from the house? Will you need to create a path? Walking across the lawn may be okay in summer but not so great in wet winters!
- Are you building under a tree canopy? However picturesque it may look, building under certain types of trees can be problematic for roofing and can create a huge job in the autumn months.
- How will you install power? You will need a qualified electrician to install electrics. If your Studio is planned far away from the main dwelling, this can potentially increase the costs of hooking up your building and require armoured cables underground or along a boundary.
Planning and Construction of the Foundation and Base
Planning a proper foundation is the number one way to ensure that your DIY Garden Room is built to last. Clear the area to fully prepare and assess.
Options:
- Concrete pillars
- Concrete rafts
- Concrete slabs
- Concrete blocks
Concrete blocks are a simple option. Use gravel and hardcore to fill the footings – adding concrete to the top. After levelling all the blocks you’re ready to frame the room base.
Walls
Using the panels and fixings, walls are typically erected beginning at the back left corner. However, depending on the position of door or window apertures or the orientation of your site, you may require a different approach. Your project drawings will help you to decide where best to start.
Roof
The panel layout for the roof is the same as the floor. Panels may come in one piece or two, depending on the size of your room.
Our DIY Garden Rooms come with an EPDM rubber roof kit which is capable of lasting decades with correct installation and care.
Doors and Windows
Finally, finish your Studio with the installation of doors and windows. UPVC windows and doors are available as an optional extra with the option to upgrade to aluminium. You can consult the manufacturer or use the internet to guide you in their installation.
Furnishing
- Wall Cladding: With our external breather membrane, you’re all set to install wall cladding. The cladding must extend beyond the insulation at the bottom and meet the roof.
- Insulation: Our DIY Garden Rooms are constructed from Structural Insulated Panels (SIPs) which are an efficient construction method for our kits, containing 75mm of rigid foam insulation.
- Finishing the Wall: You can finish the room anyway that you choose, starting with plasterboard and a plaster finish to complete your amazing space. You can add LED lighting or install a breaker box at this point.
Conclusion
Despite the obvious labour-intensity of building your own Garden Room, our DIY kits provide flexibility and a rewarding means of achieving the perfect outdoor space at the right price for you.
For advice on how to start your own DIY Garden Room project, you can call Vivid Pods on 01454 414537 or get in touch here. We are on hand to answer any questions you may have and help to make your DIY Garden Room plans a reality!

